
Learn how to use AlertPlayer 5.x Restore IMG with step-by-step instructions. Compatible with ML350 (128 GB SSD). For updated manuals, video tutorials visit Support Site and changelog of new features.
Technical Operation
- *** Always *** change the default passwords. (Password reset on first run displaying a red warning message in AlertPlayer dashboard)
- Ensure there is unobstructed airflow above the Fanless AlertPlayer. Never place any objects on top of the unit.
BIOS Settings
- During boot, “ESC” brings up bios. Ensure “Resume AC Power” is enabled.
Imaging Fresh Computer
- Download and Copy ISO IMG file to usb stick with startup disk creator Etcher, Rufus or GNOME Disks and write the image ISO file to the USB Drive.
- Attach a Monitor, Keyboard and Network cable. Ensure no other USB devices are plugged in.
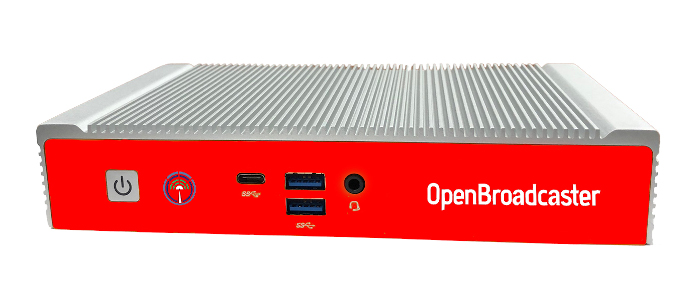
- Plug created USB boot stick into any USB 3.0 port (Blue) of computer.
- Turn on computer. At initial splash screen, press ESC button to enter BIOS.
- Using Keyboard arrow buttons. move to menu at far right, then down arrow to move to boot override “UEFI USB”
- Press enter and computer will boot to this USB and begin CloneZilla automatic IMG restore. Sit back and wait a few minutes.
- Process will automatically initialize. Prompt “Y” twice to continue.
- At end of process, remove USB and power cycle computer.
- Machine boots up into a login screen with user = obsuser pass = obsuser.
- All operations are done through the AlertPlayer’s web dashboard.
http://<IP_of_Computer>:23233
Optional BIOS Upgrade
Current BIOS version is D7820A09